
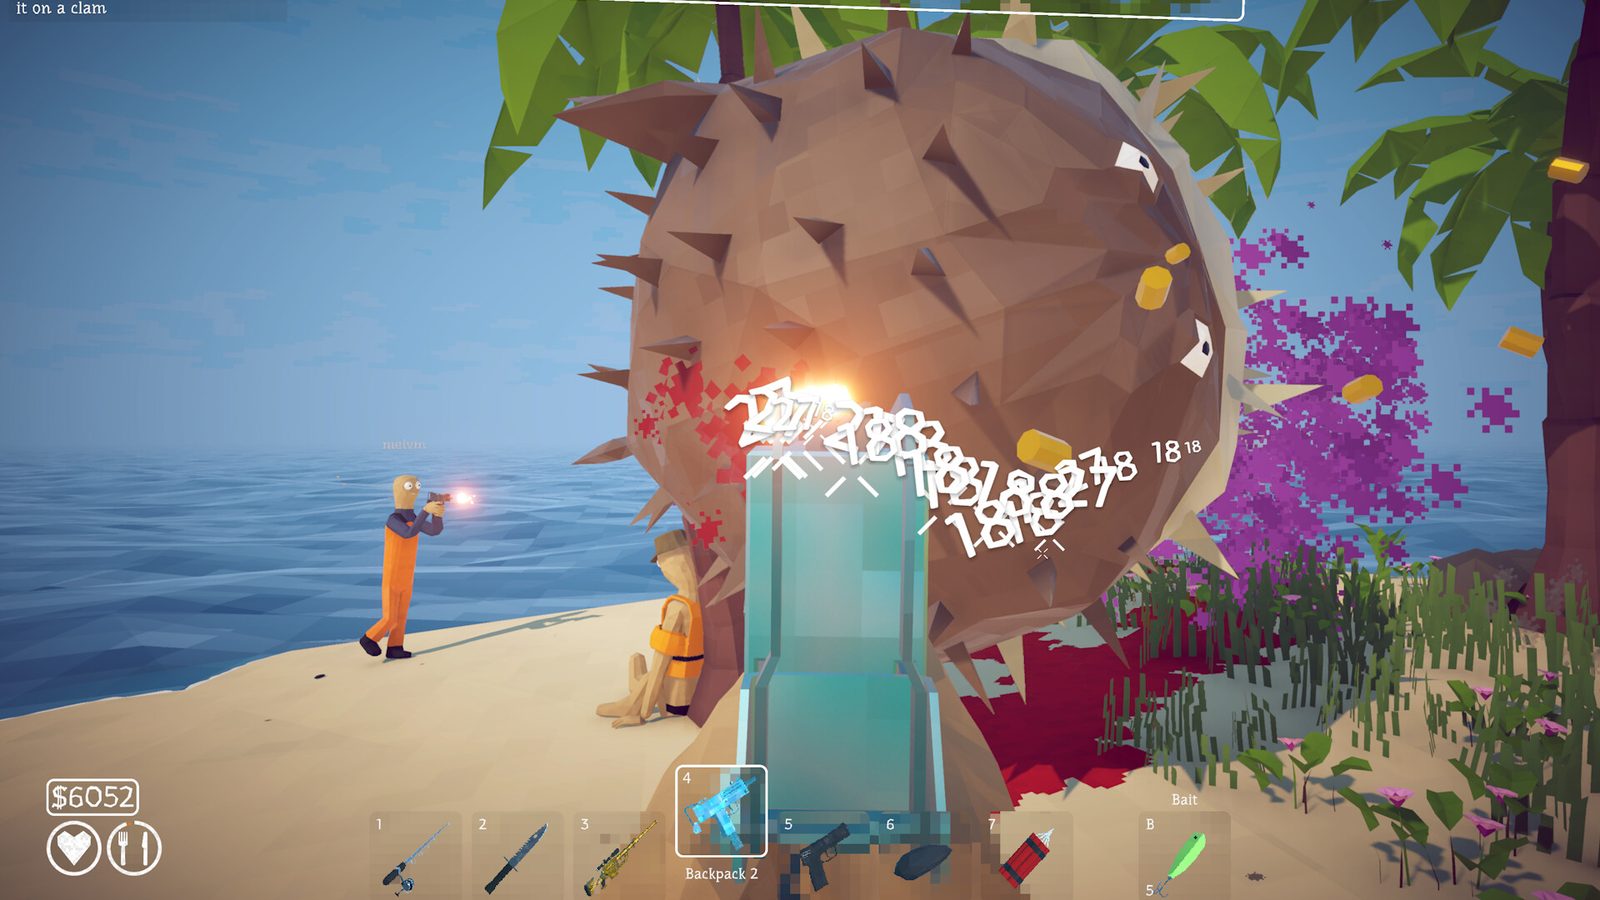
The How to Fish map is a chain of five locations you sail through in order: Lighthouse, Forest, Desert, Rocks, and Volcano. Each new island only appears on your radar after you beat its guardian boss and hand the trophy it drops back to the NPC who sent you.
The How to Fish map at a glance
The How to Fish map is not an open sea you roam at will. It is a straight chain of five locations, and you reach each one only after clearing the boss that guards the previous step. Counting the starting Lighthouse, there are five places to visit, and the four outer islands are usually named for their terrain rather than a number.
Here is the whole map in the order you sail it, with the radar marker and the hand-in that opens each stop. Directions follow the dedicated island-unlock guide from All Things How.
| Location | Direction | Radar marker | What unlocks it |
|---|---|---|---|
| Lighthouse | Starting point | Where you begin | Unlocked by default |
| Forest | Northwest of the Lighthouse | Green dot | Give the Spider Crab drop to the Lighthouse Keeper, then buy the radar |
| Desert | West of the Forest | Yellow dot | Give the Giant Piranha skeleton to the lady by the lake |
| Rocks | West of the Desert | Red dot | Give the Pufferfish fin to the tourist under the tree |
| Volcano | North of the Rocks | Pink dot | Feed the Albatross head to the shop NPC |
For a fuller tour of every stop, see the islands overview. The Desert leg has its own deep dive on the third island guide.
How island unlocking works
The single rule behind the whole map trips up a lot of players: killing a boss is only half the job. Every island boss drops a distinct, named trophy item, never a plain meat chunk. That trophy is the proof the quest-giver wants.
Once you carry that item back to the NPC who sent you and hand it over, the next island appears on your radar as a colored dot that was not there before. Until the hand-in registers, your radar stays exactly as it was, no matter how dead the boss is. If dialogue will not advance, open your inventory and look for a part with its own name and description.
One more gate matters before any of this: you must buy the radar from the Lighthouse Keeper for $10 (as of 2026-08-28, v1.0.4). Without it there is nothing to display the coordinates you are about to earn. And watch the white bar under a boss's health pool during every fight; if it runs out, the boss escapes and you bait it again from scratch.
Sailing the map in order
The first hop starts at the Lighthouse. Earn cash by feeding clams to the keeper, buy the Basic Fishing Rod for $3, work up to a knife, and eventually a Beer Can. Feed the beer to the keeper, use the empty can as a lure to pull up the Spider Crab, kill it, and hand its drop back for the boat keys. Buy the radar, then steer for the green dot to the northwest to reach the Forest.
On the Forest, feed the lady by the lake three leeches for the Giant Piranha lure. Clear the boss's minions, kill it, and return the skeleton to her for the yellow Desert coordinates to the west. The Desert asks you to catch a Needlefish for the tourist who fears the water; he trades a Carrot, which baits the Pufferfish. Take that boss's fin back to him and the red Rocks dot appears further west.
At the Rocks, the shop NPC warns of a large bird. Catch a Tuna with the Professional Boss Lure, drop it as bait to draw the Albatross, then finish the bird and carry its head to the shop. That unlocks the pink Volcano dot directly to the north, the last island before the mainland.
Reading your radar and boat upgrades
Your radar is the map's compass. Each colored dot corresponds to exactly one destination, and green, yellow, red, and pink do not overlap. During fights the radar also matters, since every enemy shows a red dot through walls and terrain, letting you track a boss from cover.
Before you sail from the Desert to the Rocks, pick up the radar upgrade for your boat. It mounts the radar in a fixed spot on the deck so you no longer have to equip it every time you want to check your heading. Both editorial walkthroughs place this upgrade at the same point in the route.
Faster engines make the long crossings less tedious. A boat engine upgrade runs $230 at the shack next to the old man on the Forest, and the top-tier Dual Motors cost $860 at the shack by the grill on the Desert (prices as of 2026-08-28, v1.0.4). There is also a mid-tier engine on the Desert, but the Forest one is cheaper, so buy it early.
Why the next island won't appear
If your radar looks unchanged after a boss fight, the cause is almost always one of a short list. The boss is dead but its drop is still sitting in your inventory or on the ground, so no hand-in ever happened. Carry the named part to the exact NPC who gave the quest.
You may also have skipped the radar purchase from the Lighthouse Keeper, leaving nothing to plot the coordinates on. On the Forest specifically, if your leech count is not at 3/3, the Giant Piranha bait was never made and the fight never truly started.
Finally, check that the boss did not escape when its white timer bar expired. An escaped boss counts as never killed, so the drop you needed does not exist. Re-bait and try again, keeping cooked fish on you to heal.
Does your spot on the map matter?
Once you are chasing a complete collection, a detail about the map surprises many players: what you catch is decided by the lure you have equipped, not the island you are standing on. The encyclopedia you open with Tab tracks every creature and its drip variant separately, but it never tells you where to find them.
That means you do not have to sail back and forth across the map to fill gaps. You can complete the whole collection from a single island, most conveniently the Volcano, simply by cycling through lures. The map still gates story progress, but for post-game hunting it is your lure loadout, not your position, that counts.
Each island does keep one Reel of Fortune machine, where you gamble drip creatures for weapon skins, and drip variants respawn indefinitely. So no run to any island is ever wasted, and nothing you spend on a spin is lost for good.
The map after the ending
The final Volcano stretch closes the loop. Feed the scientist five fish for the whale bait, kill the whale, then throw its carcass into the volcano to spawn the lava whale, the true final boss. Kill it, take the tail to the scientist, and he hands over the RHIB keys.
Starting the military boat takes you to the mainland and rolls the endgame credits. That completes the story, but you can keep your save. After the credits you wake back at the Lighthouse with all your gear and weapon upgrades, and all five locations are open with free movement between them.
At that point the gating stops mattering entirely, which is exactly when collection cleanup becomes practical. With the whole map unlocked, you can hop between islands to fill the encyclopedia, farm drip creatures for skins, and chase the fiddly achievements without redoing the boss chain.
Frequently asked questions
How many islands are on the How to Fish map?
There are five locations in total, counting the starting Lighthouse: Lighthouse, Forest, Desert, Rocks, and Volcano. Beyond the Volcano lies the mainland, which you only reach by boat after killing the final boss and watching the credits.
Why won't the next island show up on my radar?
Usually the boss is dead but its trophy is still in your inventory or on the ground, or you never bought the radar from the Lighthouse Keeper for $10. The coordinates only register once you hand the named drop to the NPC who gave the quest.
In what order do you unlock the islands?
Lighthouse first (free), then Forest to the northwest, then Desert to the west, then Rocks further west, and finally the Volcano directly to the north. You cannot skip ahead during the story because each hop is gated by the previous boss.
Can you travel freely across the map after finishing?
Yes. Once the credits roll you wake back at the Lighthouse with all your gear and free access to all five locations, which is when collecting missing fish becomes practical.
Sources checked 2026-08-28
- https://www.destructoid.com/complete-how-to-fish-game-walkthrough-100-completion/
- https://allthings.how/how-to-fish-how-to-unlock-every-island-forest-desert-rocks-volcano/
- https://steamcommunity.com/sharedfiles/filedetails/?id=3788027308
- https://www.youtube.com/watch?v=BFwwWlf9qGQ
- https://www.youtube.com/watch?v=mK5WaARlT9w